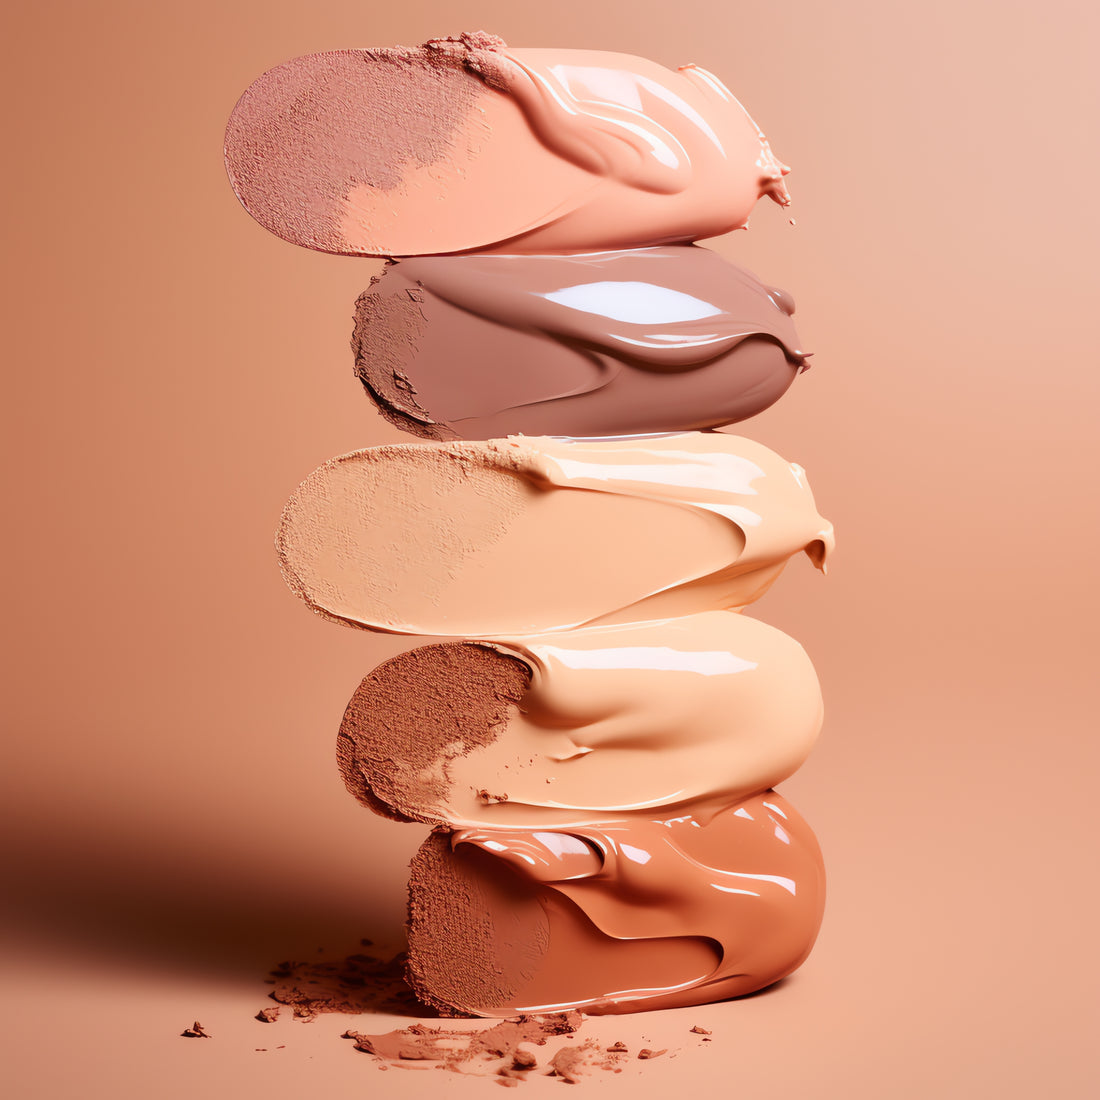
Creating realistic skin tones: A guide for artists
Share
Mixing skin tones can be a delightful challenge for any artist. Understanding the basic principles of colour mixing can help you achieve a convincing and natural look. Here’s a quick guide to get you started.
Primary colours
To mix realistic skin tones, you typically start with the primary colours: red, blue, and yellow. These colours form the base of your palette.
Basic mixture
-
Start with a base: Mix a small amount of red and yellow to create an orange or peach hue. This will serve as your base colour.
-
Add blue: Introduce a tiny amount of blue to your base mixture. Blue helps to neutralise the orange and gives the skin tone a more natural appearance. Be cautious with the amount, as too much blue can make the colour look unnatural.
-
Adjust with white: To achieve different shades and tones, gradually add white to lighten the mixture. This step is crucial for creating highlights and lighter skin tones.
Fine tuning
-
Warmth and coolness: Depending on whether you want the skin tone to be warmer or cooler, you can add more yellow or blue respectively. For warmer tones, increase the amount of yellow and red. For cooler tones, add a bit more blue or a touch of green.
-
Shadows and depth: For shadows and deeper areas, mix in a bit of brown or even a small amount of purple. These colours add depth and dimension to the skin tone.
-
Blush and rosiness: To add a healthy blush or rosy cheeks, incorporate a tiny bit of red into your mixture.
Practice and patience
Remember, mixing skin tones is an art that requires practice. It’s all about experimenting and finding the right balance. Don’t be afraid to make mistakes, as they can lead to unexpected and beautiful discoveries.
By mastering these basic principles, you’ll be well on your way to creating lifelike and expressive skin tones in your artwork. Happy painting!
